One of the most critical components of a landscape lighting system is having secure, waterproof wire connections. Today we will demonstrate how to make a low voltage wire connection for direct burial applications using waterproof wire nuts.
Direct burial connectors are the most commonly used connectors in landscape lighting applications. Wire nuts, in particular, are filled with silicone gel to seal the connection and protect against ground moisture.
Cable connection points are often the point of failure of landscape lighting systems, so it is critical to ensure the connection is secure the first time. In a low voltage landscape lighting system, the cable will have two conductors per wire, which connects the fixtures to the low voltage transformer and provides the power.
Tools
Step-by-Step Instructions
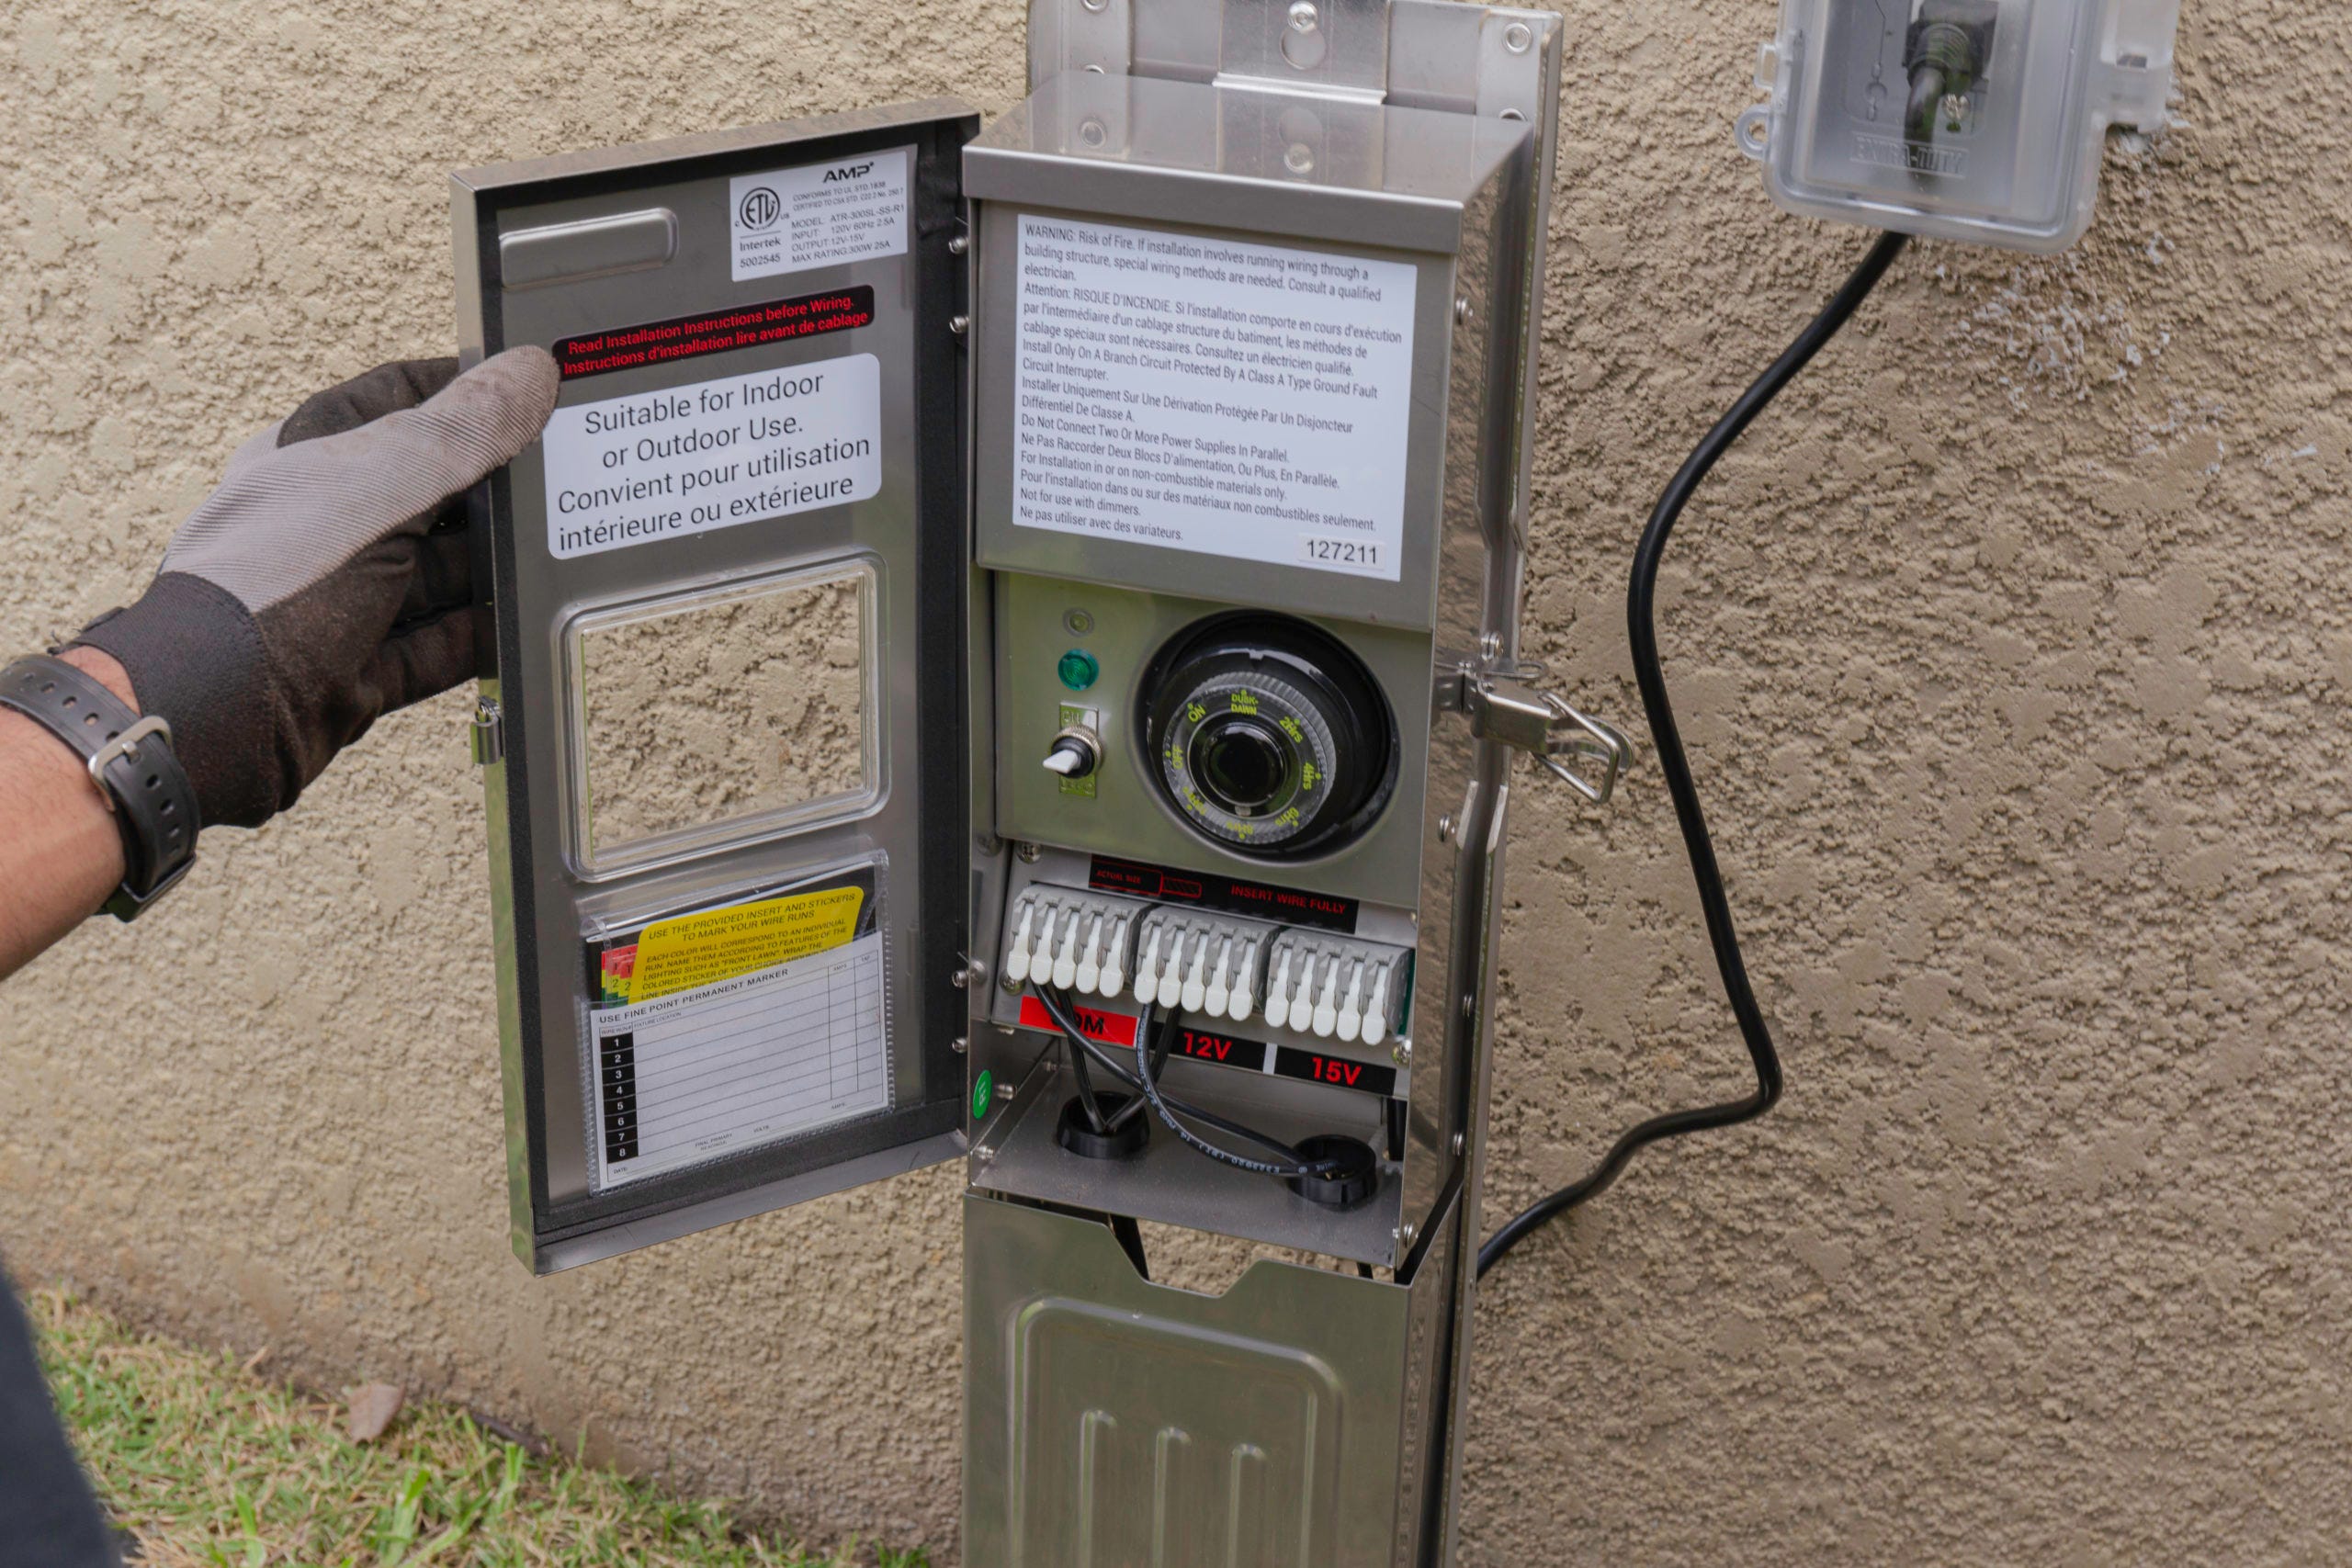
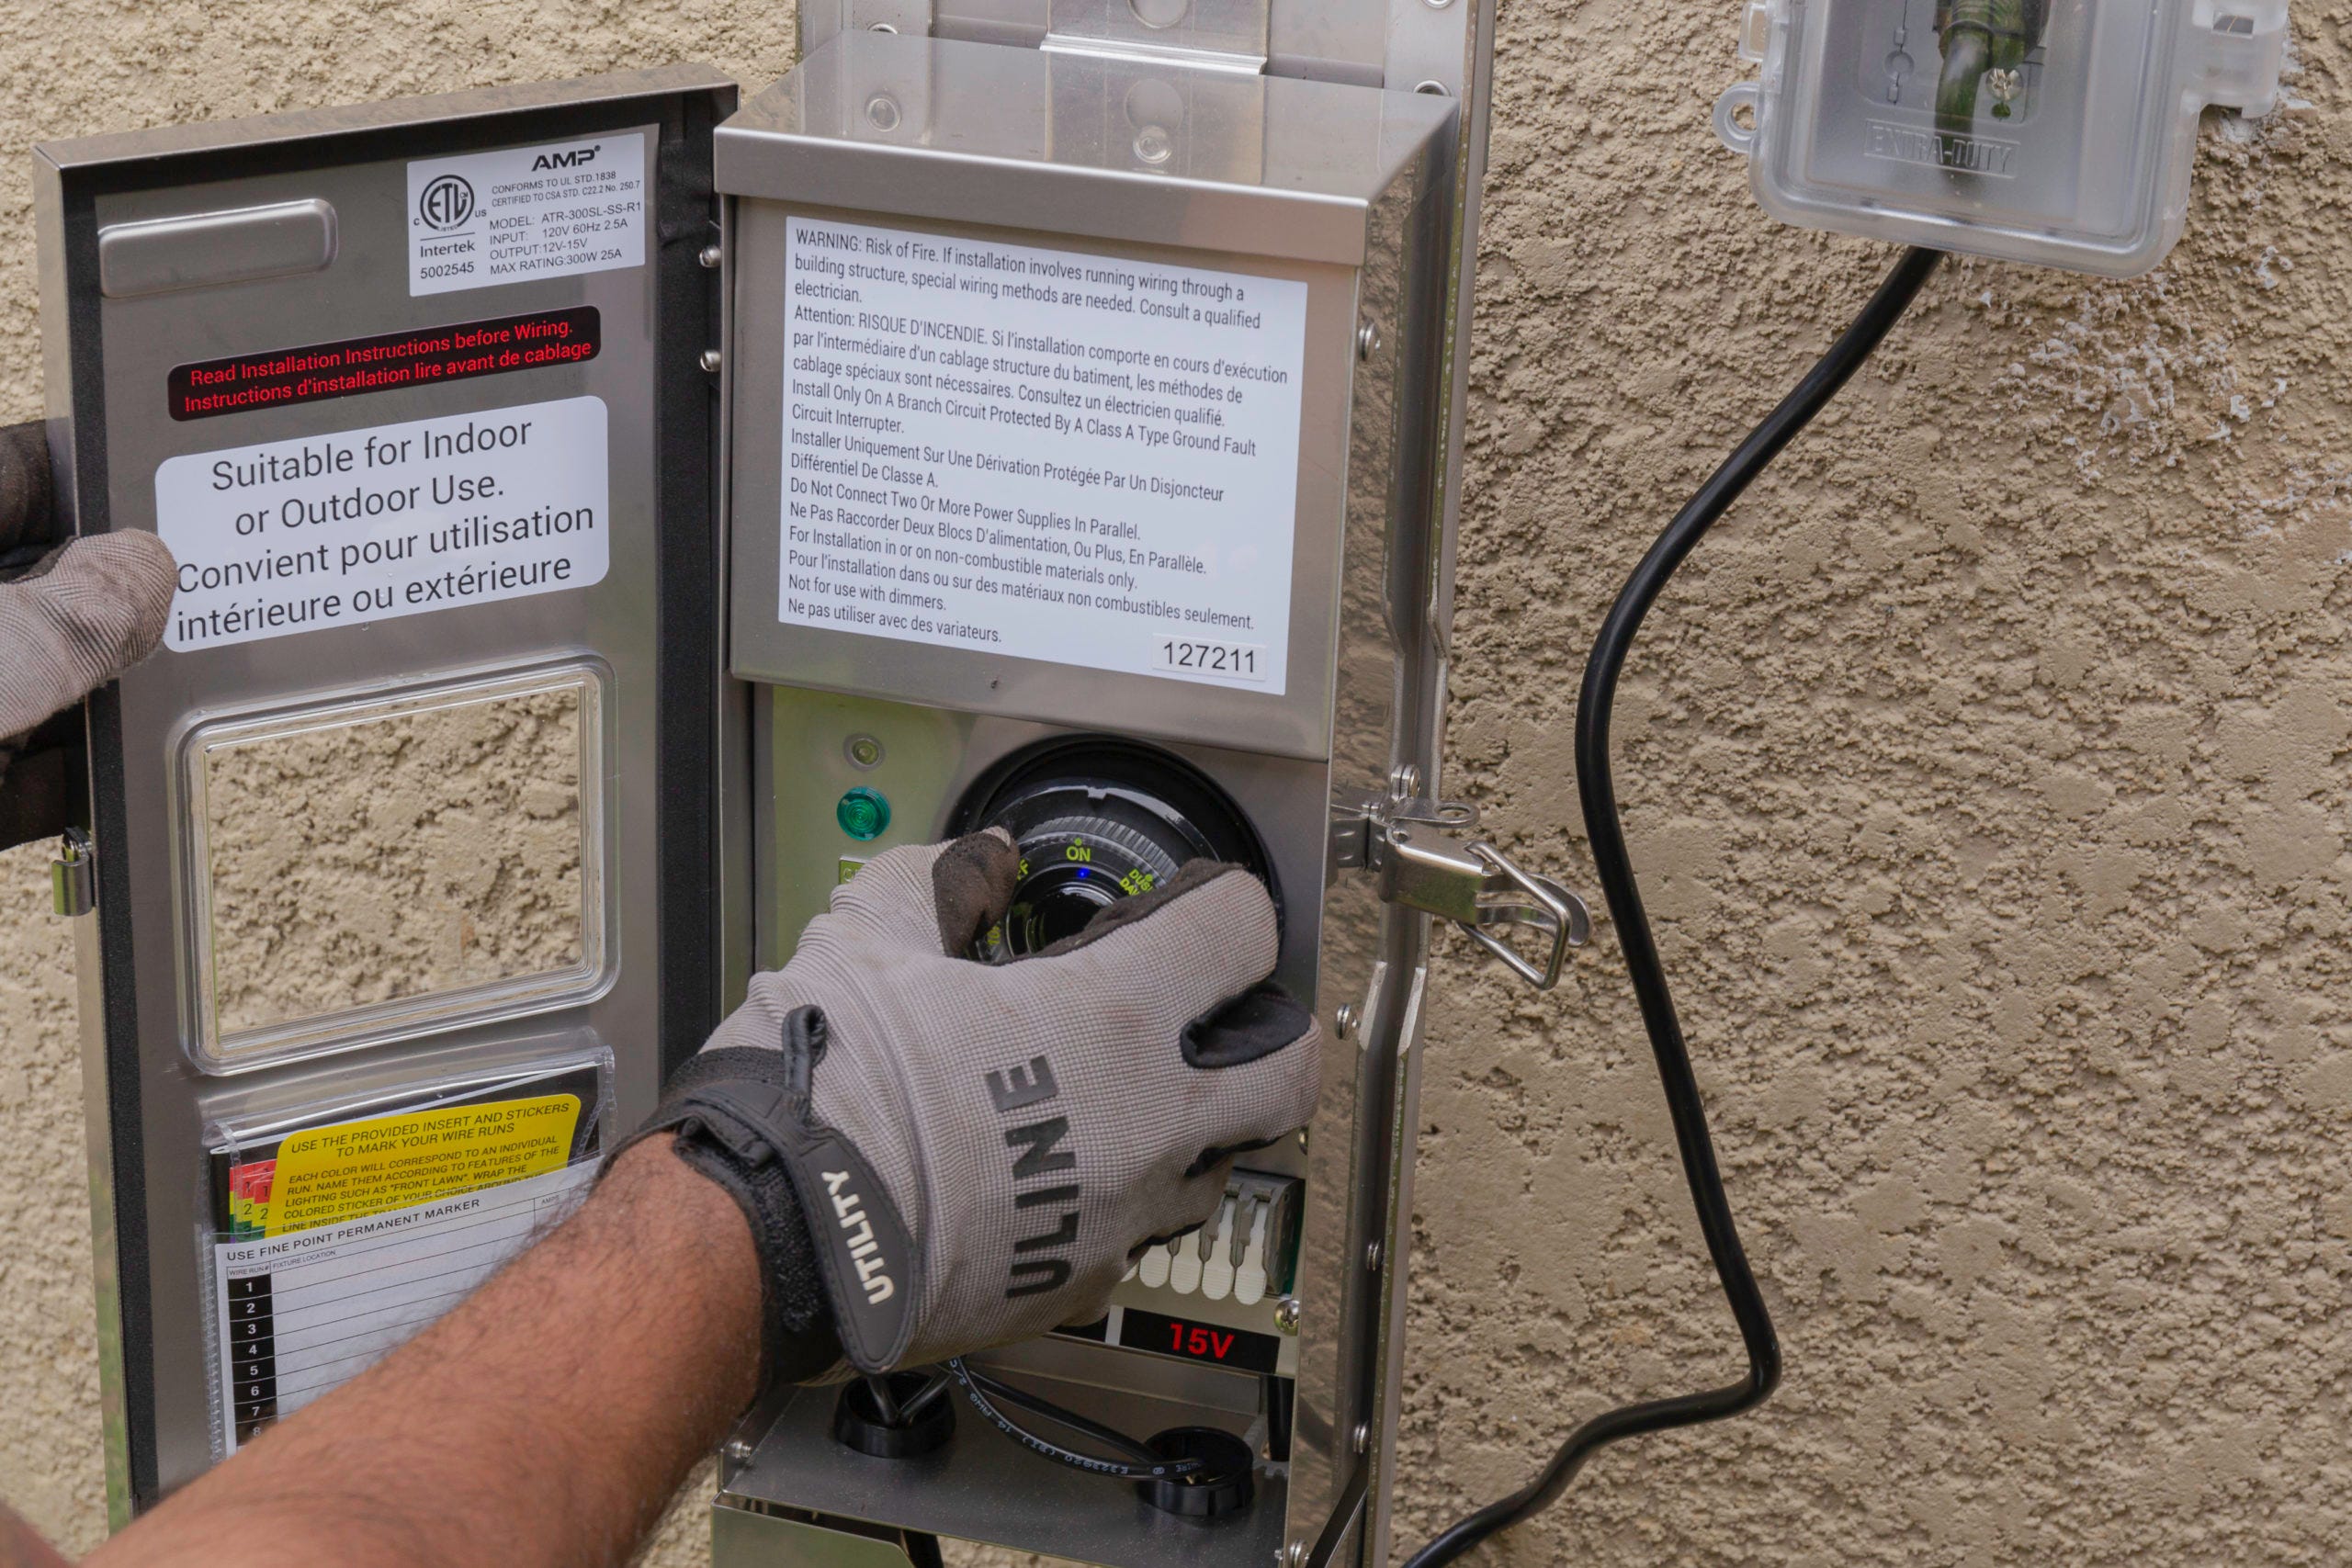
Step 1: Turn Off the Power
Start by turning off the landscape lighting transformer. Make sure that the timer and breaker are in the off position. Additionally, you can unplug the power to the transformer.

Step 2: Pull Apart Cable Wires
Take the cable lead wire and pull it apart about six inches. Since low-voltage landscape lighting only has two conductors, you do not have to worry about polarity.

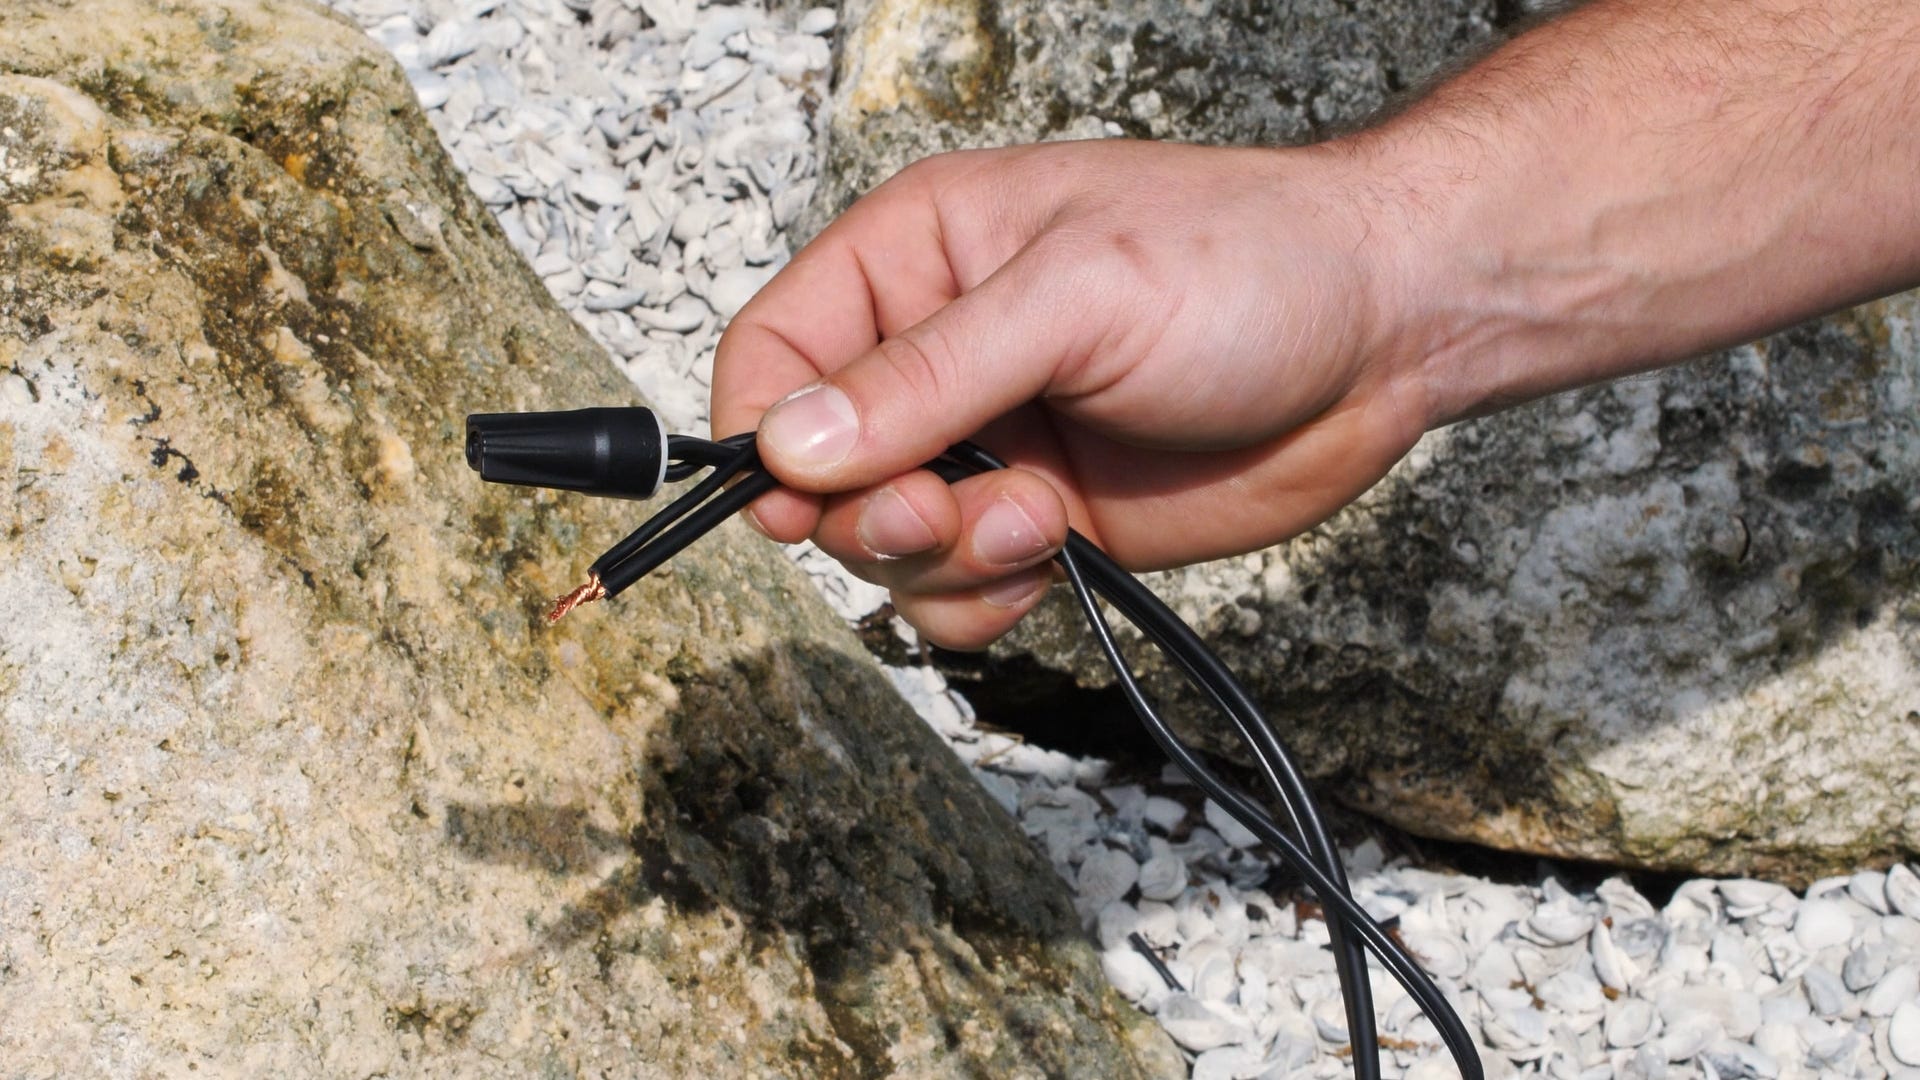
Step 3: Strip the Wire
Use the wire strippers and expose about ½ inch of the wire.

Step 4: Twist the Ends of Each Wire
Take the exposed copper ends and twist them tightly together. Then take one of the mainlines from the transformer and securely fasten it with a lead fixture wire.
Step 5: Insert the Wires into the Connectors
Insert the wire connections firmly into the DryConn® waterproof connectors and twist them clockwise. It is normal for some of the silicone to come out. Simply wipe it off with a cloth.
Step 6: Test the Connection
Test the connection by turning the power back on to the landscape lighting transformer and checking if the fixture turns on.
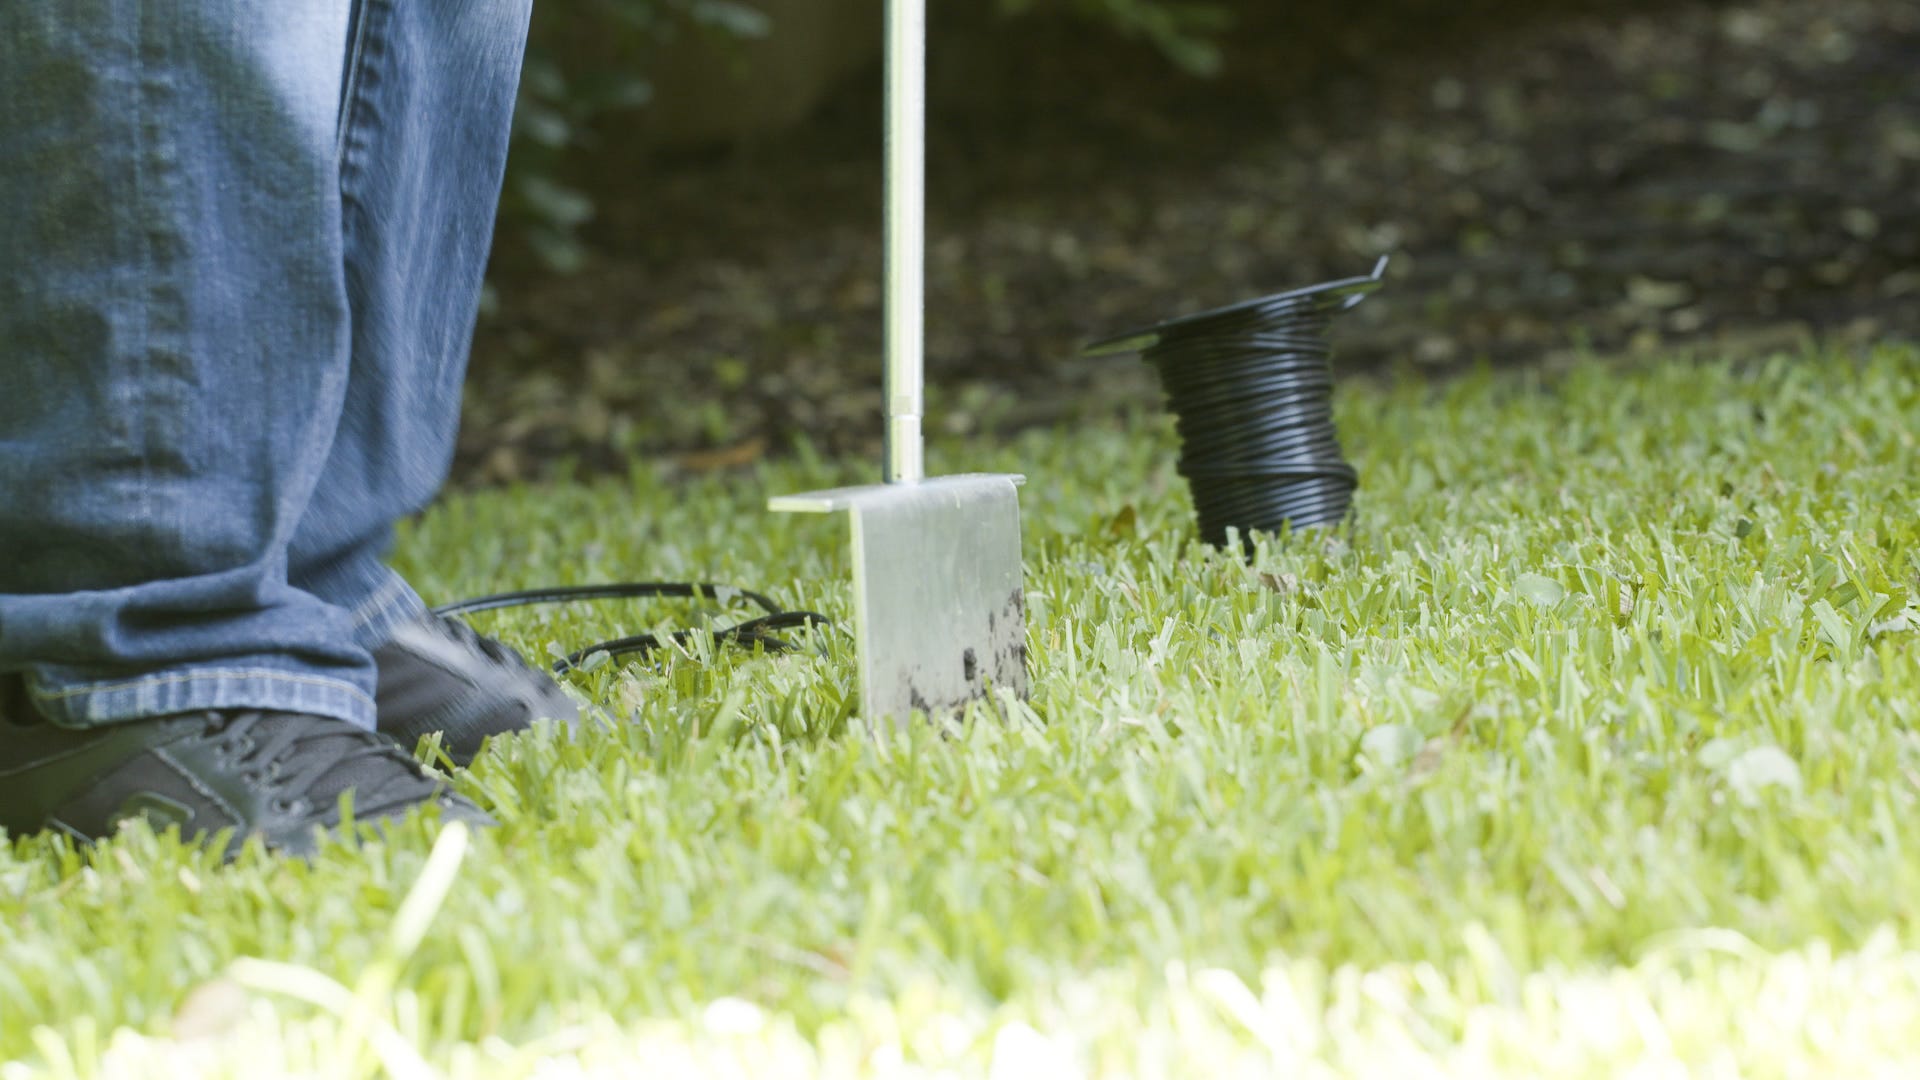
Step 7: Bury the Cables
Once the connectors are successfully installed, then bury the cables.